|


|
|
The purpose of this Solar Imaging 'primer' is to share my sharpening workflow with other interested
solar imagers. I do not claim to be an expert in this field; but this workflow works for me. I also do not
plan (at the present time) to repeat the invaluable information found in the supplied tutorials.
Image Capture
Step 1: Download FireCapture.
Here is the location for the
tutorials.
Step 2: Watch the tutorials. These should give you sufficient knowledge to use FireCapture.
Note: I prefer to capture via the .SER format.
RegiStax Processing
Step 3: Download RegiStax 6.
Here is the location for the
user's manual.
Open RegiStax 6.
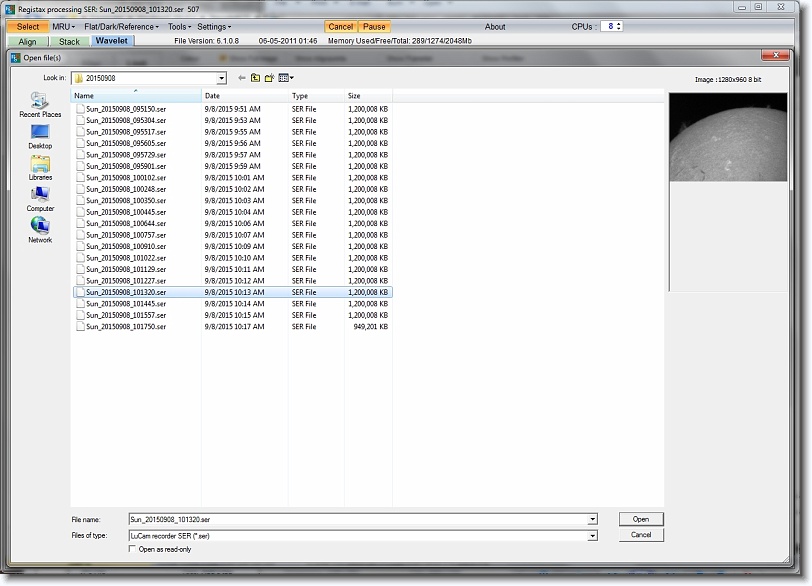
Select
Step 4: Click on Select found in the upper left of the RegiStax page. Once you have your
file for processing selected, you are ready to begin the sharpening workflow.
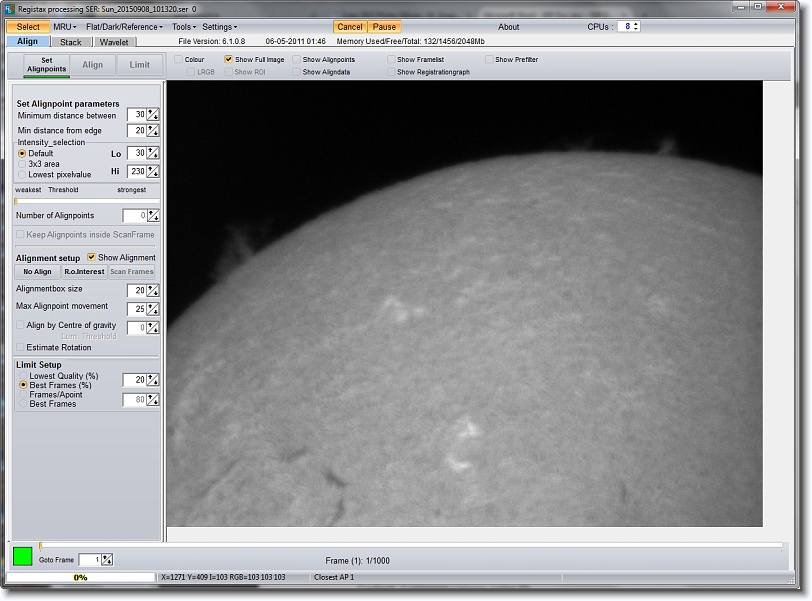
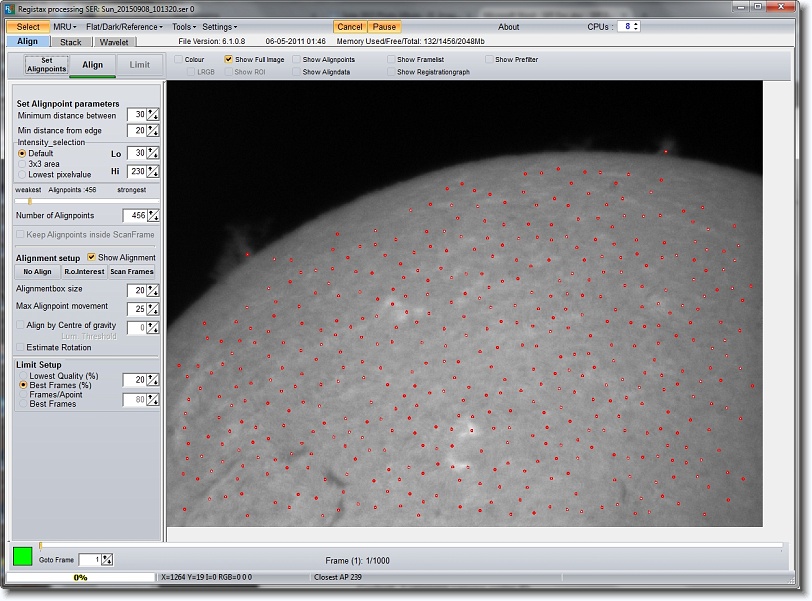
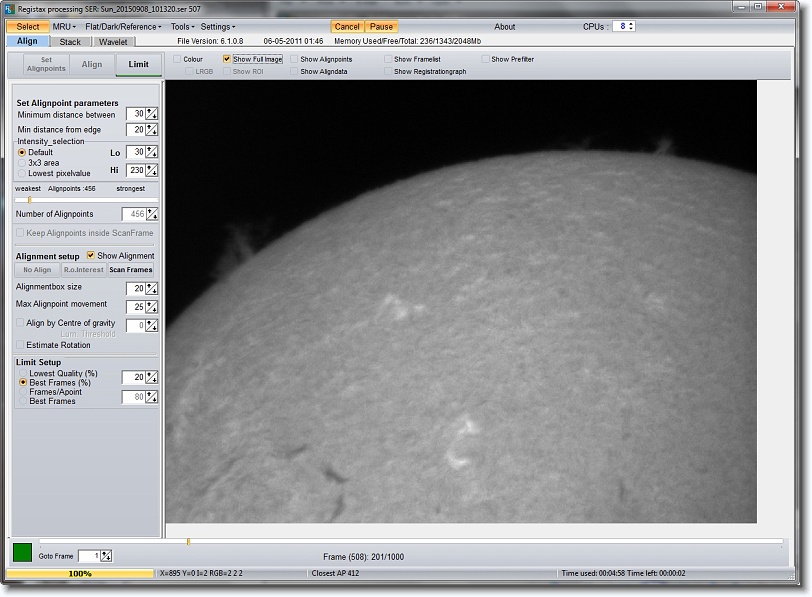
Align
Step 5: Set Alignpoints - This will set alignpoints for the current image based on the
estimator parameter settings.
Step 6: Align - This will perform image alignment.
Step 7: Limit - This will limit the number of frames used based on the slider and
the setting of Limit Setup.
Stack
Step 8: Stack - This starts the stacking procedure.
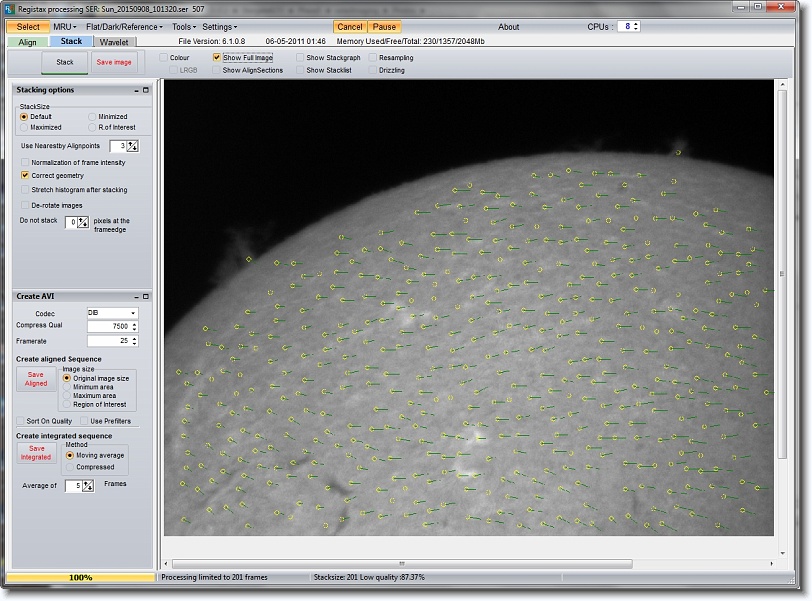
For additional information on stacking in general, please refer to this
article
from Night Sky Pix.
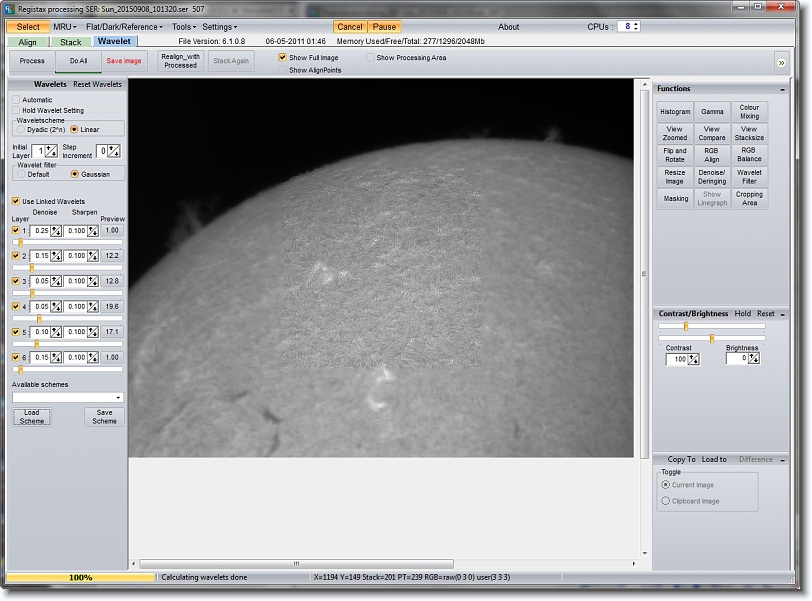
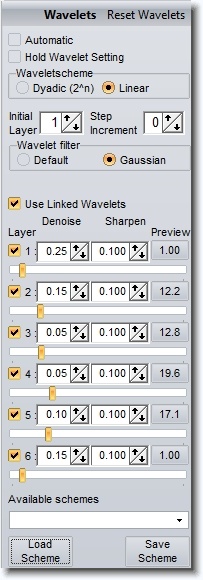
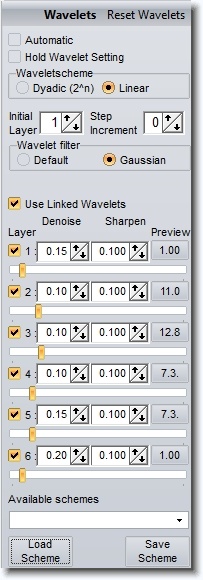
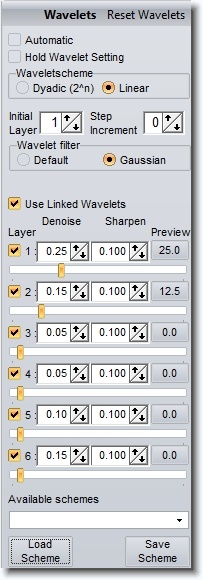
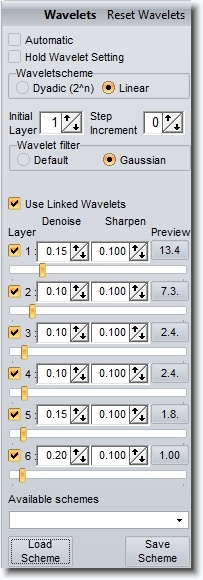
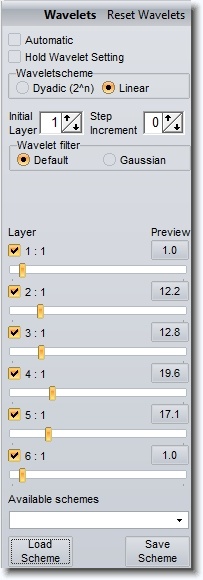
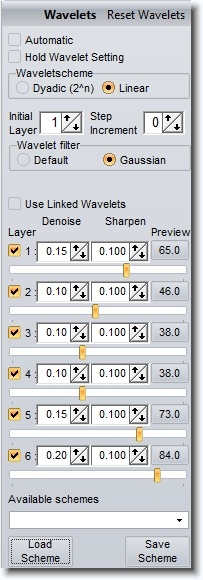
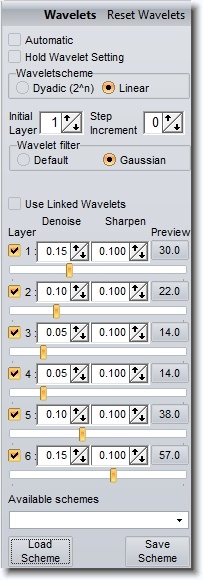
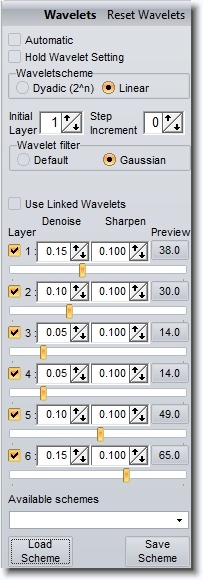
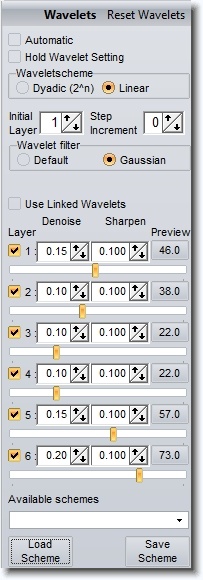
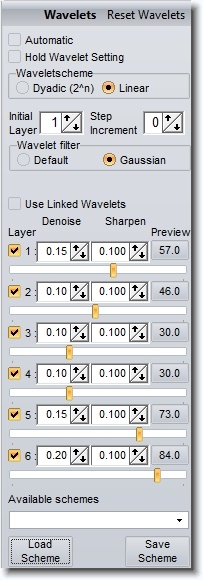
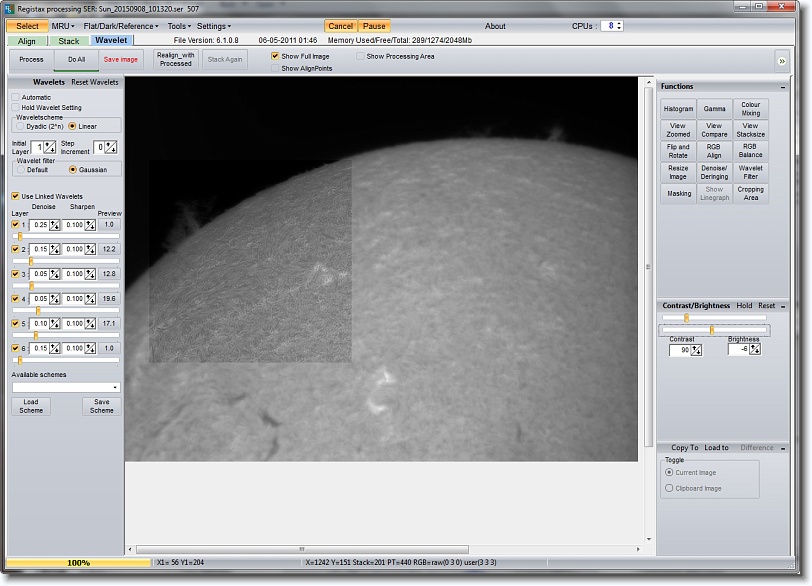
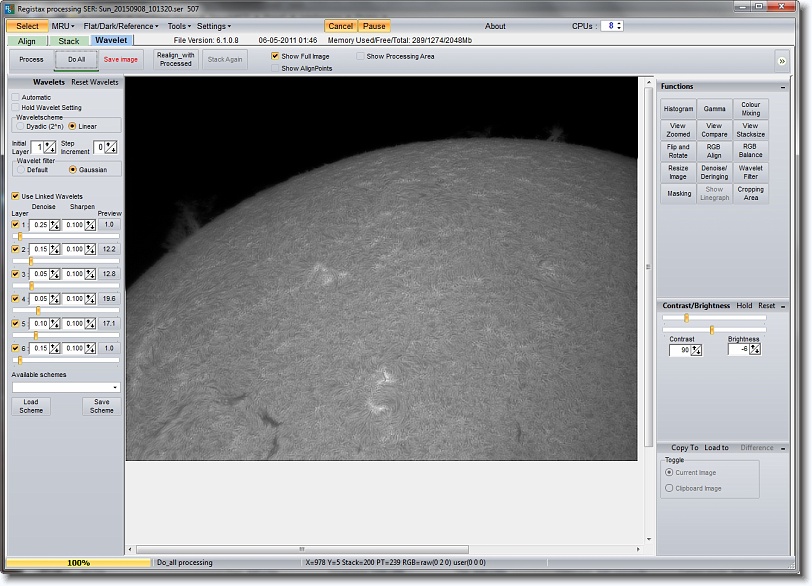
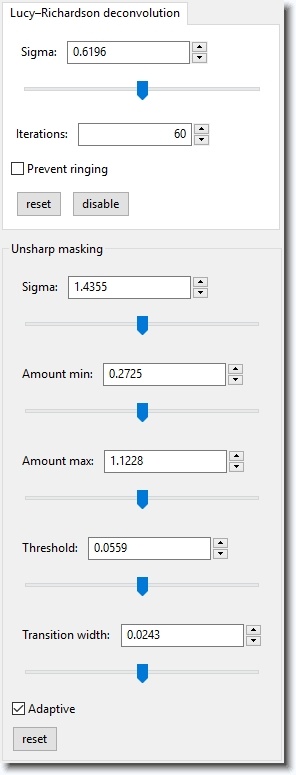
Wavelet
Photoshop Processing
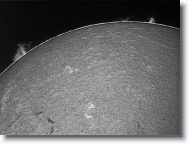
Step 13: For every monochrome solar image created, I use Photoshop to create a total of 4 images.
- Original monochrome image from FireCapture and processed in RegiStax named Sun_yyyymmdd_hhmmss.
- Hydrogen-Alpha colored image named Sun_yyyymmdd_hhmmss_C.
- Inverted Hydrogen-Alpha colored image named Sun_yyyymmdd_hhmmss_IC.
- Inverted Hydrogen-Alpha monochrome image named Sun_yyyymmdd_hhmmss_IM.
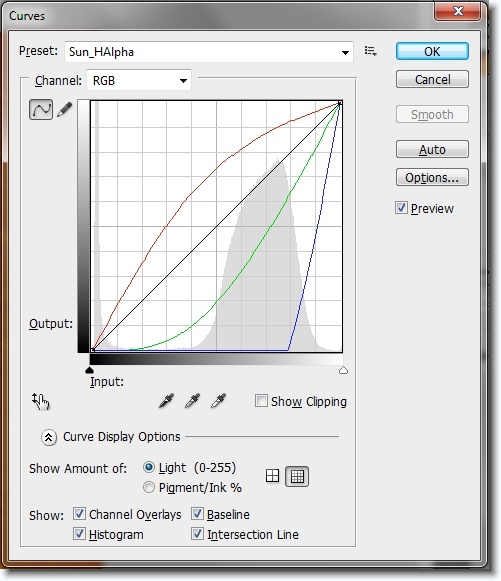
The RGB curve channel definitions for color processing are (courtesy of John W. O'Neal II):
|
Red
|
Input: 84
|
Output: 139
|
|
Green
|
Input: 95
|
Output: 20
|
|
Blue
|
Input: 218
|
Output: 65
|

|
Click here for a zipped file of the Photoshop Curves color values (same zip file as shown above).
|
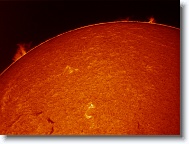
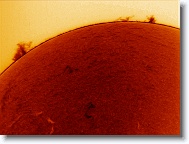
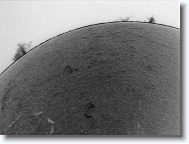
And the final results!
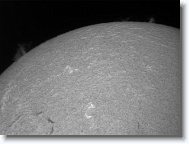
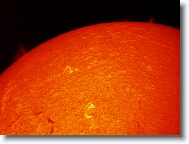
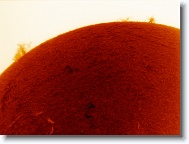
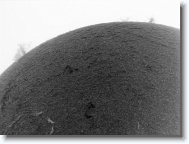
Prominences are enhanced as appropriate.
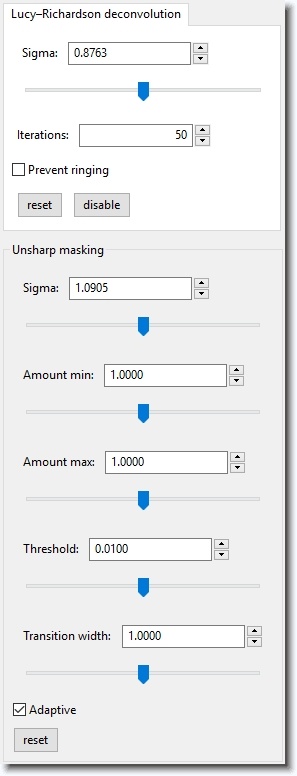
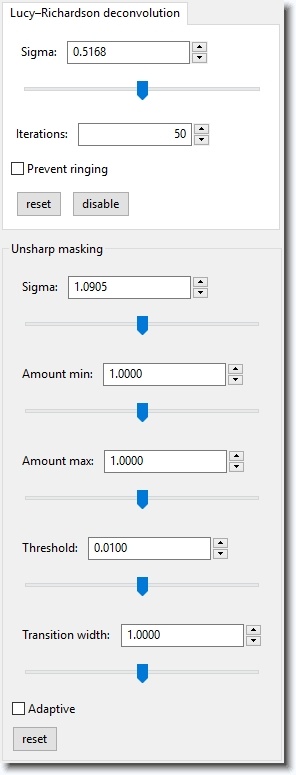
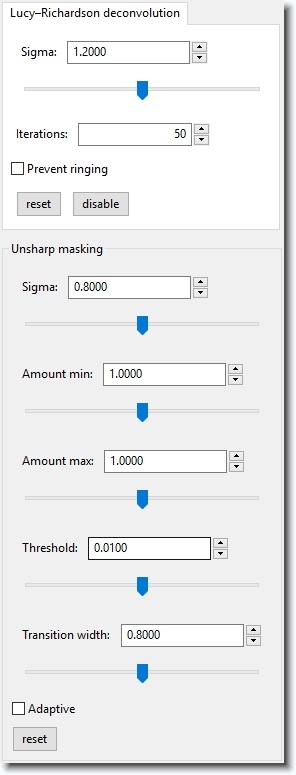
ImPPG Processing (Optional)
|
|
|
|
|